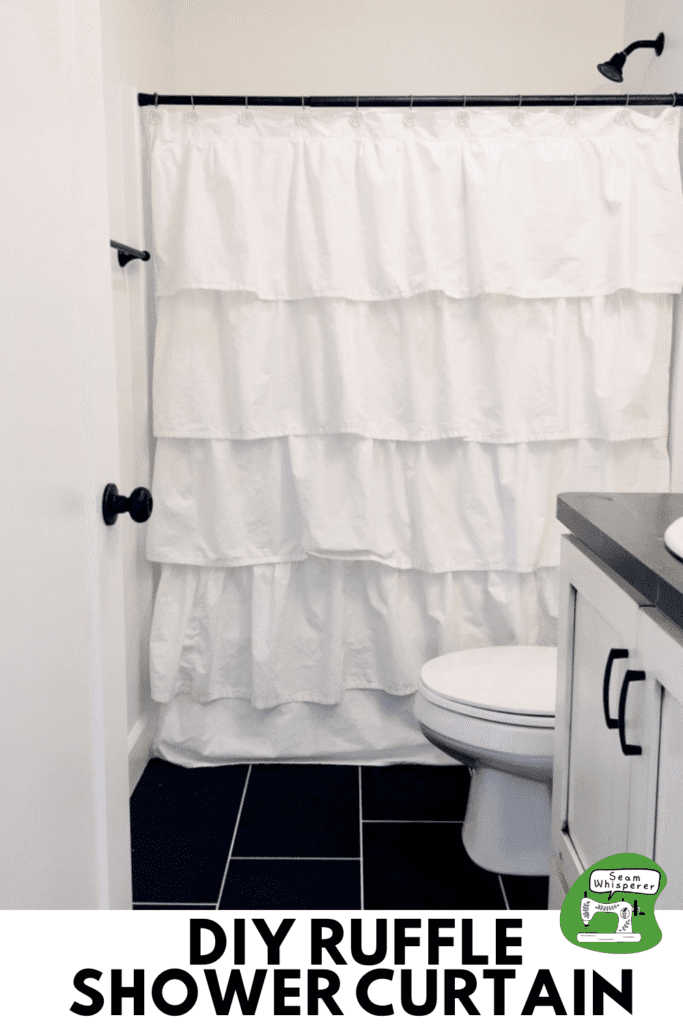
Learn how to make an easy ruffle shower curtain out of bed sheets for a cheap and quick bathroom DIY!
One of our bathrooms needed a serious shower curtain upgrade, I was still using a Walmart shower curtain I bought in college!
For a cheap temporary fix, I upcycled some white flat sheets into a super cute ruffled shower curtain, and since I already had the fabric, all I had to purchase were grommets for under $5!
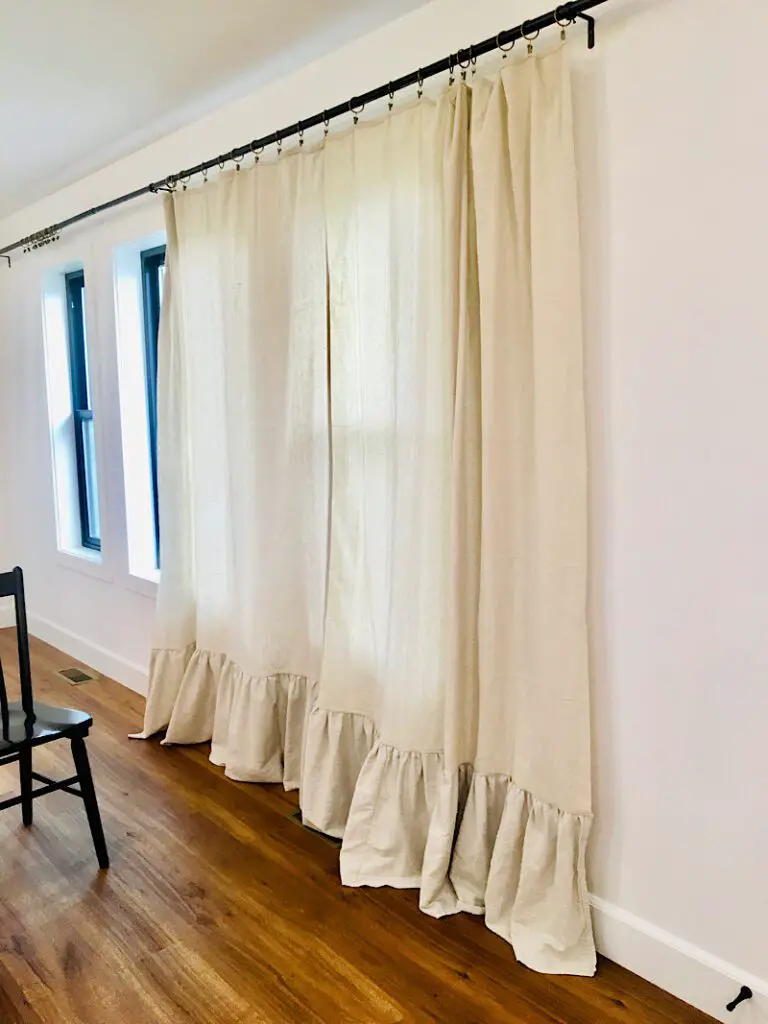
Make sure to check out my other cute ruffled curtain tutorial I did with cheap drop cloths (It transformed my living room!)
This post may contain affiliate links. Read the full disclosure here.
How To Sew A Ruffle Shower Curtain
Supplies Needed
- Flat Bed Sheets (1 Queen for the base, and 2 Twins for the Ruffles)
- White Thread
- Metal Grommets + applicator tool, hammer, and piece of wood to go underneath **I bought one similar to this, but you can also find them at any craft store or Walmart**(Optional, you could sew buttonholes instead)
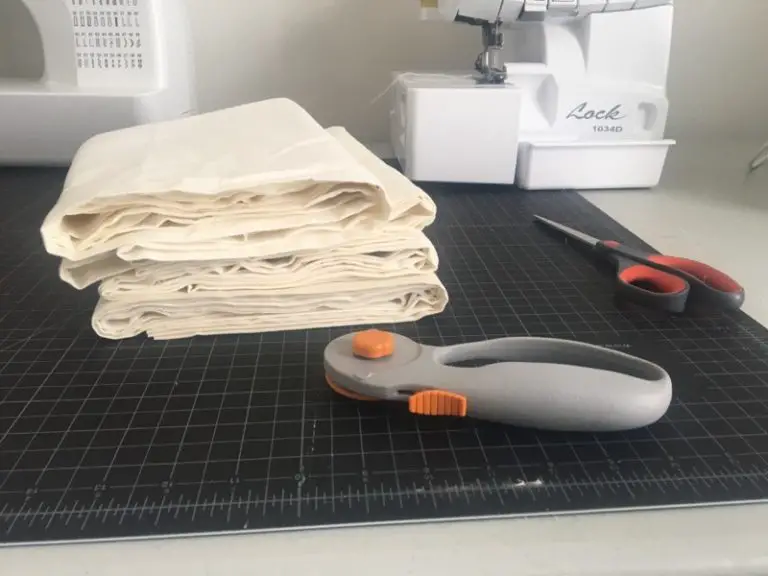
- Sewing Machine, Scissors, Pins, Measuring Tape, etc.
Step 1. Cut & Hem The Curtain Base
The ruffle curtain is made with a flat base that each ruffle is sewn to in layers.
Cut your Queen sheet so that it is about 74 inches by 70 inches in size. Mark one of the short sides to be the top.
To hem the sides and bottom of the curtain, fold over each edge 1/2 an inch, then 1/2 an inch again. Pin the edge, then sew it down.
Keep the top edge unhemmed for now.
Step 2. Cut & Hem The Ruffles
For this curtain you will make 5 ruffles, each about 14 inches tall.
Measure and cut both twin flat sheets into 16 inch wide strips, the entire length of the sheet. You will end up with 8 strips of fabric.
Cut 3 of the strips in half, so they are 16 inches wide, and half the length of the sheet.
Then, sew one half-strip to one full strip, to make one long ruffle piece. Repeat this with the other 4 long strips of fabric until you have 5 strips of fabric that are all 1.5 times the length of the original flat sheet.
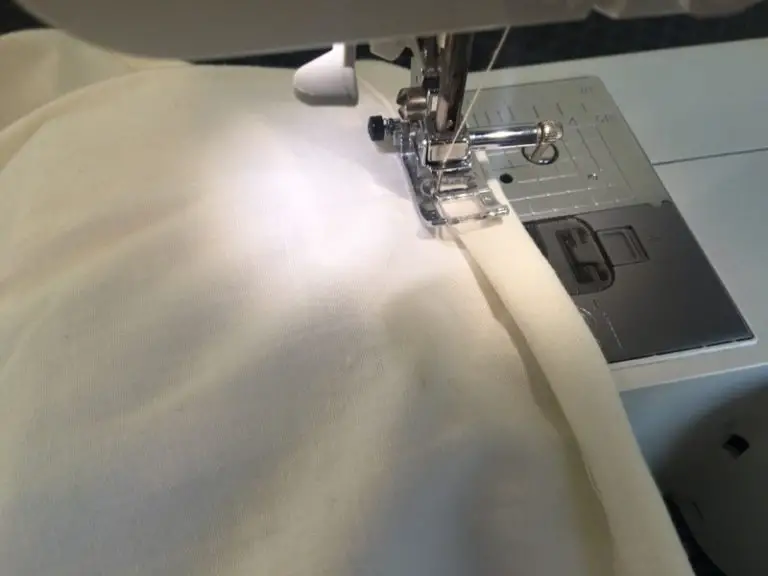
Next, hem the bottom edge of each ruffle by folding it over 1/2 an inch, then 1/2 an inch again, pinning it in place, and sewing it down.
Step 3. Gather The Ruffles
To gather the ruffles, sew a basting stitch (your longest stitch length, with no backstitch at the beginning or end) across the top of each ruffle.
Then, gently pull on one of the thread tails to bunch up the fabric. Gather it along the entire length of the fabric strip until it is evenly bunched up, and the total length is reduced to be 72 inches (the width of the base curtain).
When the gathered fabric is the right length, tie the thread tails into a knot so it cannot un-gather. Then repeat this step with the other 4 pieces of fabric.
Step 4. Attach The Ruffles To The Shower Curtain
Lay the shower curtain down flat with the wrong side down.
Lay one of the ruffles on top with it’s wrong side facing down, lining up the bottom edge of the ruffle with the bottom edge of the curtain. Pin the ruffle across the curtain.
Then, sew the ruffle to the curtain with a single straight stitch at the top of the ruffle. Then remove the pins.
Lay the curtain down again, and lay the next ruffle on top of the curtain aligning the bottom edge of the ruffle so that it overlaps and covers the top of the previous ruffle to hide the edge.
Pin it in place, and sew it down.
Repeat these steps until you have sewn on every ruffle.
Step 5. Sew The Top Band
With the remaining scraps of fitted sheet, make a strip of fabric that is 7 inches wide by 74 inches long. (You may have to piece it together).
Fold the band in half with the right sides facing out. Hem the two sides 1/2 inch, then 1/2 inch again.
Lay the band with the front side of the top of the shower curtain, with the raw edges aligned. Pin it in place, then sew or serge it to the curtain.
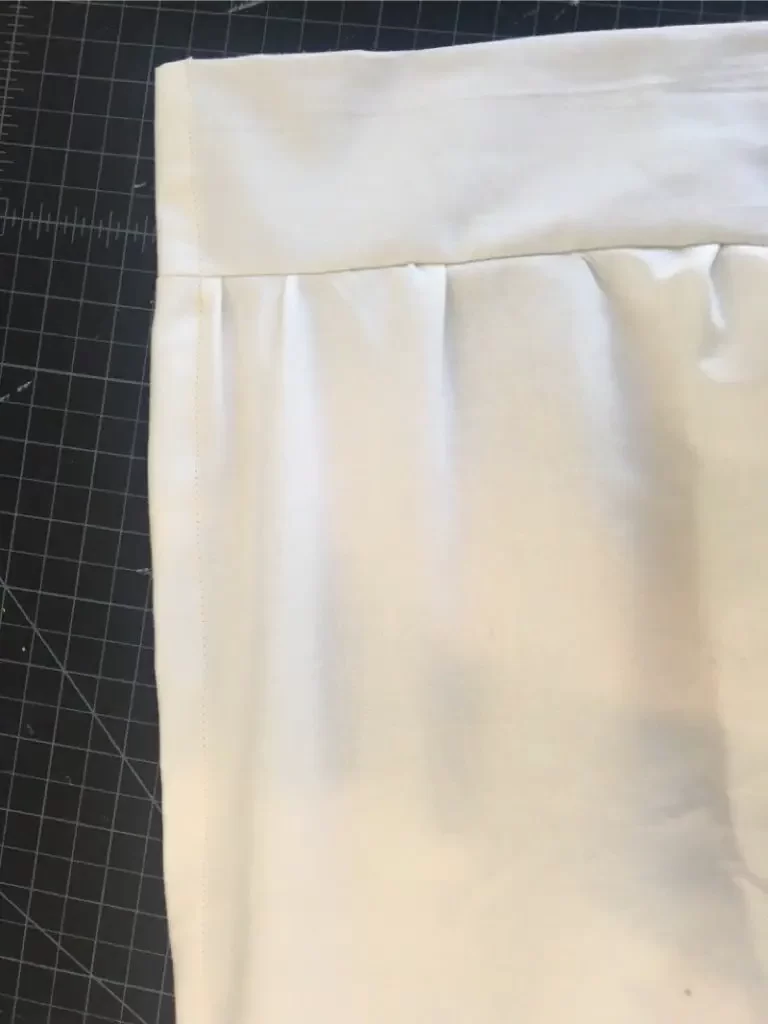
You now have a nice thick band to add grommets or buttonholes to, for the shower curtain rings to be inserted into.
Step 6. Add The Grommets
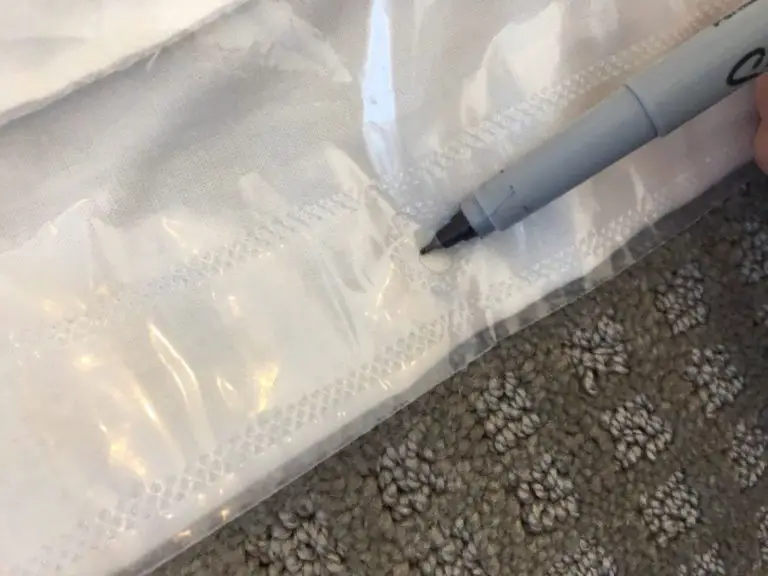
To add the grommets, I first layed the curtain onto the ground and stacked a waterproof curtain liner on top. Then I used a marker to mark the holes in the liner so that they would exactly match on the curtain. (They were about every 6 inches.)
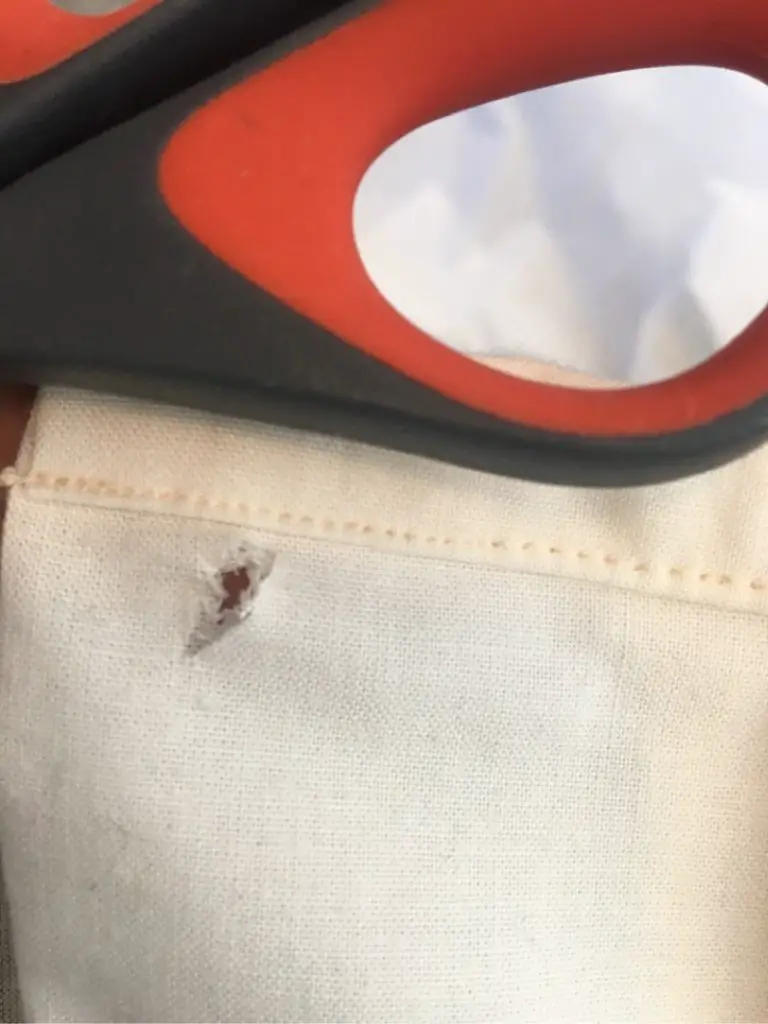
To attach grommets, you need to cut a little hole into the fabric at each location, then insert the “male” side of the grommet, then stack the “female” side on top.
Then, using the applicator tool and a hammer, hammer the grommet applicator until it bends the grommets into place.
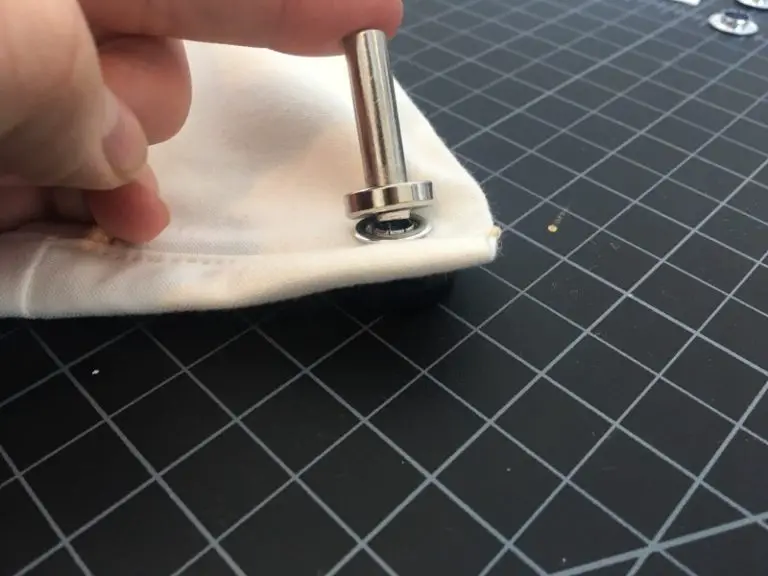
Repeat this step with every grommet hole.
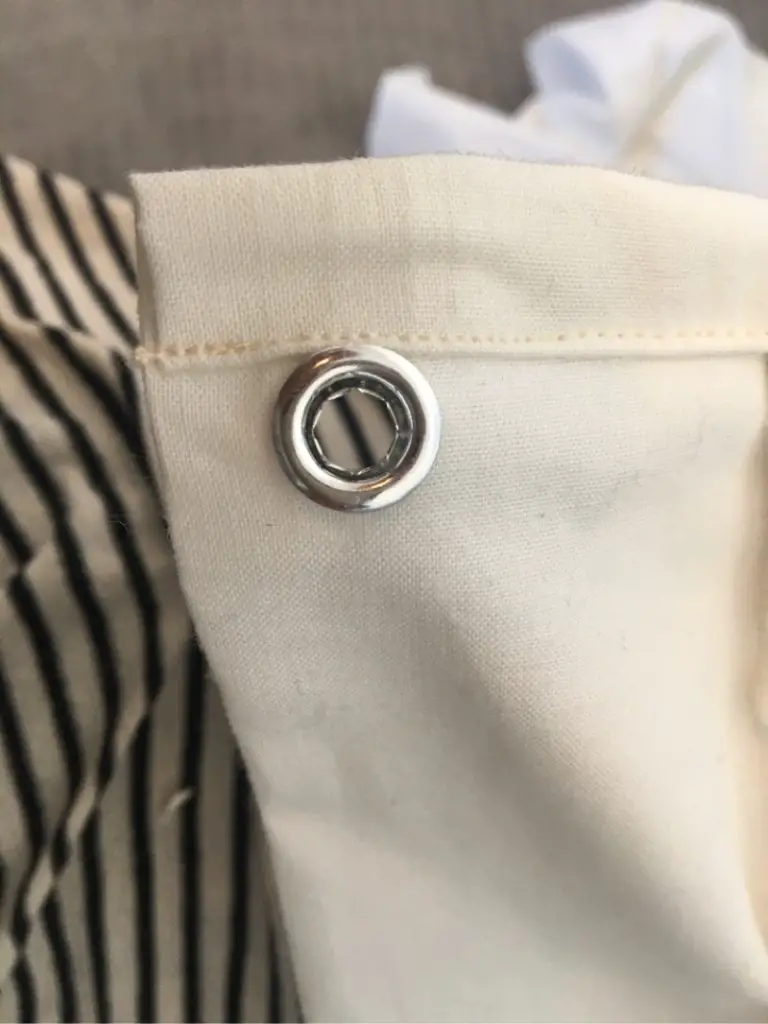
These will help your curtain be nice and durable, plus they look really professional.
Alternatively, you can sew a buttonhole at each curtain ring location, which is not as durable, but will work great as well and save you money!
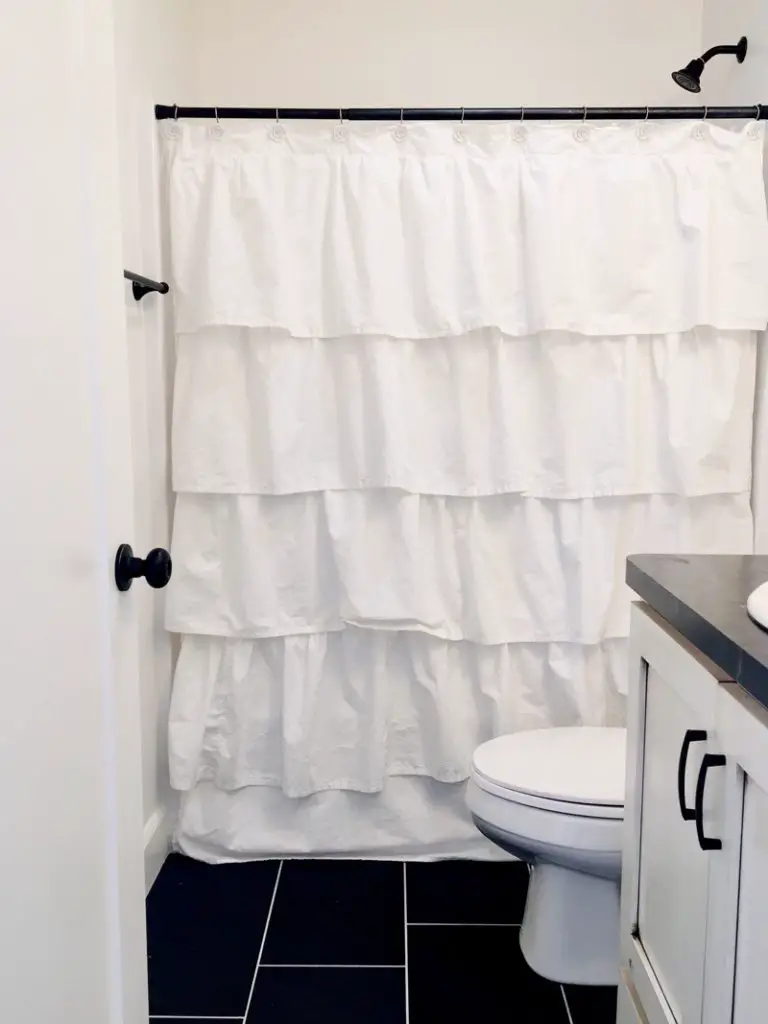
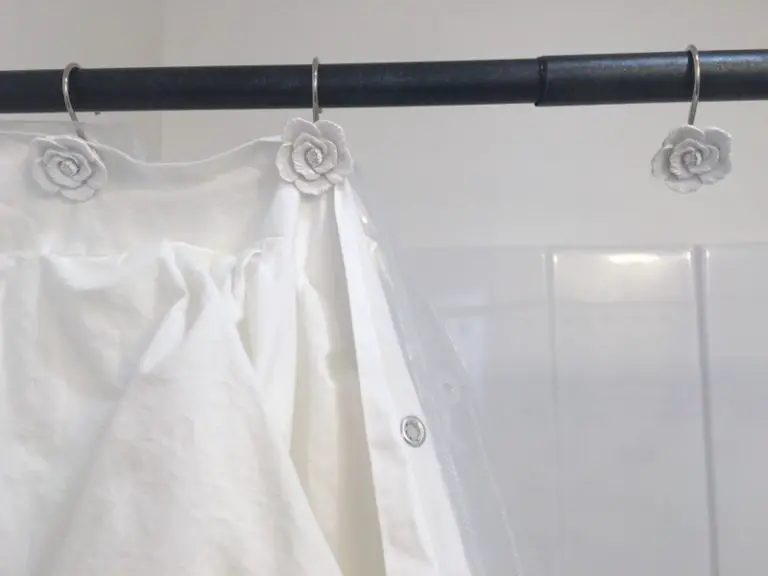
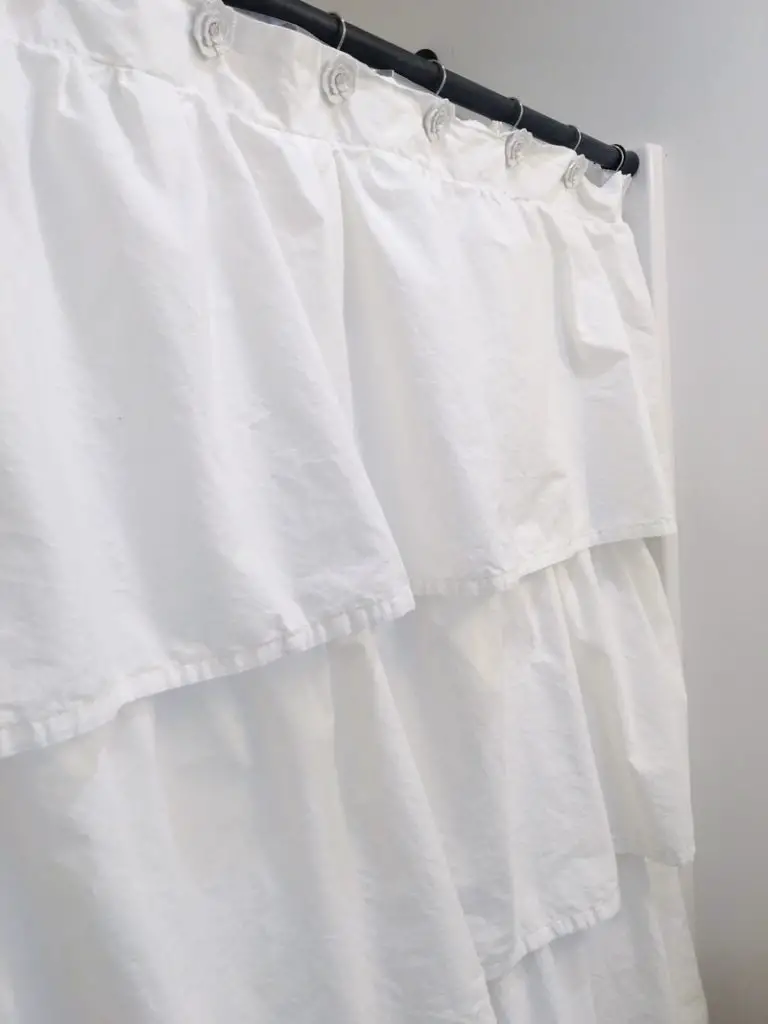
Then, all you need to do is hang the curtain up!
I used some really cute rose shaped curtain rings that complimented the room nicely! (I can’t find the exact rings I used, there might be some on Amazon. These ones on etsy are also very cute!)
And you are done. I am so happy with how fast that turned out. I love upcycling!
Pin this post to pinterest so you can find it later, and leave a comment if you have any questions!