This post is part 2 in a series. To read part one, click HERE.
This post may contain affiliate links. As an affiliate, I make a commission on qualifying purchases at no extra cost to you. See Disclaimer for more details.
This post is very picture heavy, and mostly just me rambling! So… enjoy!
I’m excited to finally be posting part two of the floral wall decal series!
I have been wanting to create a mural or accent wall of some sort for the girls room for a while and I finally decided that vinyl would be a super easy inexpensive way to do it!
Now that I’ve been working on it here and there for a few weeks I’ve wondered if I should have planned out each color and the exact placement of each flower and leaf… but it would have taken way too long to do that I think.
Sometimes just figuring it out as you go and letting the design “come forth” organically is the best way, even though it sometimes doesn’t end up absolutely perfect.

This project definitely has those imperfect charms… and I love them!
I described how I made the cut files in Cricut Design Space in part one. If you missed that post make sure to check it out.

Making the cut files is very easy but it can be a little tedious. Cutting out the files and weeding the vinyl is EVEN MORE tedious but also very easy.
This is the first design I have attempted of this size, (the previous biggest mural or vinyl piece I did was about the size of a door.)
So there’s a lot of weeding here!!

That’s okay.
For the vinyl, I chose sheets from ExpressionsVinyl.com which is a website I shop at a lot and just love.
They have lots to choose from and seriously the best vinyl prices I’ve seen anywhere (and trust me, I am a price shopper…) plus their customer service is amazing and their shipping is so fast, sometimes I’ve gotten things in 2 days!
They also have free returns so I HIGHLY recommend getting TONS of colors if you are unsure of your color palette and then just return what you don’t use. This way you don’t have to pay for shipping multiple times (ask me how I learned this…)

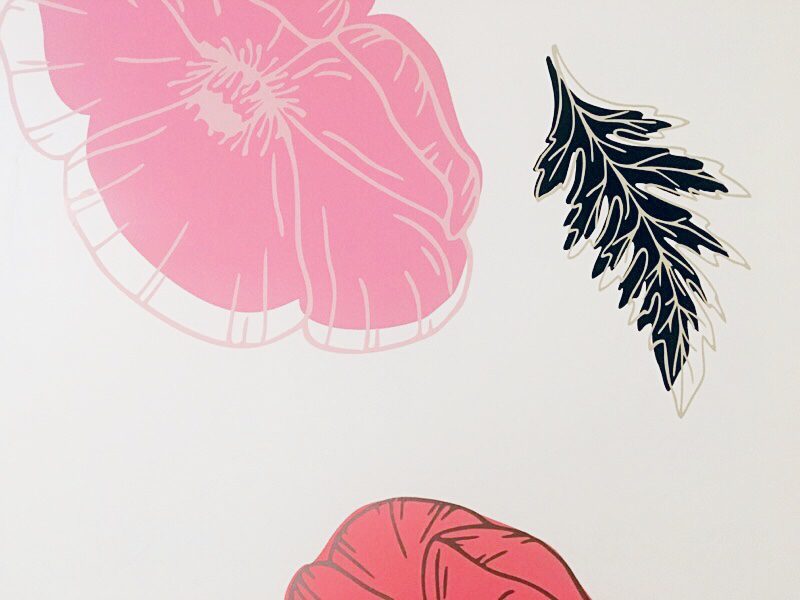
The color palette I chose for the wall mural was pinks, greens, and browns.

I wasn’t picky about what type of vinyl I bought, I just wanted colors I liked, so I got some permanent, some semi permanent (also known as removable or reposition-able vinyl) as well as some glossy and some matte and metallic.
I also tried out an opal vinyl for the first time which I will talk about later.
If you aren’t sure how long you’ll keep the mural on the wall, or want something that removes extremely easily so it won’t damage paint, get semi permanent vinyl. (The options at Expressions Vinyl are Easy Psv removable and oracle 631)
You will also need a lot of transfer paper for this project. I bought a whole roll which is cheaper than buying sheets.
Also, If your cricut mats aren’t very sticky this may also be a good time to wash and re sticky them.
PS I found my lost mats! Even though I successfully completed a few vinyl projects without them, for this one I was so glad to have them back! A lost Cricut mat is a sad sad thing…
One more piece of advice before I start the tutorial:
The best way to do this large of a project is to focus on one flower or leaf element at a time.
Don’t try to cut everything all at once, or weed everything all at once.
It is important to be able to see the design coming together a little bit at at time, so you can decide what size to make the next flower, or what color you need to use next, etc.
Plus, its really fun to see the progress as you go along.
Okay let’s jump in!
There are 4 steps to this process:
- Cut the Vinyl
- Weed the Vinyl
- Transfer Vinyl to Transfer Paper
- Apply Vinyl to the Wall
Step 1. Cut the Vinyl
Choose the first flower you want to cut, and decide how big you want it to be.
I chose to cut a ‘poppy’ flower first.

You will cut out the base layer, or the ‘silhouette layer’ first, which will be applied to the wall first.
Then, you will cut the top layer, or the ‘outline layer’ next, which will be placed on TOP of the base layer.
This is calling vinyl layering, and really gives the flowers some great dimension and texture.
For some flowers I chose to make the ‘outline layer’ larger so it overlapped onto the wall a little bit. For some flowers and especially the leaves, I chose to make the top outline layer a little smaller so it ‘nested’ inside.
Its up to you and how you want it to look.

As always, make sure to do a test cut before you use new vinyl.
(My blades are a little dull, so I cut on vinyl+. When I cut thick vinyl like Opal or Glitter, I cut on Iron on. You will have to test your machine settings.)
Note: You can add a ‘weed box’ around the flower to make it easier to weed later. I don’t usually do this, but it does make weeding easier and can help save vinyl scraps. Here is a great tutorial on how to use a weeding box
Step 2: Weed the Vinyl
After you have cut the first flower, you will need to weed it!
Weeding around the ‘silhouette layer’ is very simple because there is only one large piece to weed.

Weeding the ‘outline’ layers will be more time consuming because of all the little pieces. Go slow, and make sure not to rip any of the vinyl.

Cricut has a really cool new weeding kit called TrueControl, that includes several tips that can be changed without touching any blades or sharp parts. This would be a great kit for beginners and advanced weeders alike.
Step 3: Transfer the Vinyl to Transfer Paper
Once your first flower pair (the silhouette layer and outline layer) is all weeded, you will need to transfer it to the transfer paper.
To do this, cut a piece of transfer paper large enough to cover your whole design, and place it on top of the vinyl.

Next, using a scraper (or an old giftcard if you don’t have a scraper, though a scraper is more ergonomic,) rub and ‘scrape’ the transfer paper all over your design.

You are trying to get the vinyl to stick to the transfer paper, so that you can peel the backing off and leave the vinyl stuck to the transfer paper.
After you scrape the transfer paper, you just peel it slowly off the vinyl backing, and the vinyl should stick to the transfer paper.

Step 4: Apply Vinyl to the Wall
I didn’t have a very concrete plan when I started doing this. I just started in the corner of the wall and worked my way down, one flower at a time.
I applied the silhouette layer of the flower first by placing it on the wall, and scraping the transfer paper with a card again to stick the vinyl really well.

After applying the first layer, I placed the outline layer on top. I offset it a little bit to make it look a little more dimensional.

You can see through the transfer paper a little bit, which helps you line it up.
Scrape it with a card again

Now remember, this was all kind of a big experiment, I had no idea what it would look like. It was a huge “moment of truth” moment!
Here’s what it looked like:

It looks so awesome!
Now I was so excited to keep adding more pieces! I just kept repeating the process, First layer, second layer.
Here is the next flower I did:

This one just kind of looked like a blob before the second layer was added…


I didn’t make the outline layer much bigger than the bottom layer for this one,
I just kept working and adding things slowly and watching it grow…


At this point, I thought I would be very smart and try another cricut experiment…
I wondered if there was a way for me to use the part of the vinyl that I would normally weed and throw away, so that I didn’t waste anything, since I was using the outlines and the ‘middles’ anyways in my design.
I tried weeding it as normal and really carefully sticking it straight onto transfer paper, which kind of worked but it was really hard because it kept sticking to itself.
So then I had the bright idea to cut all the way through the vinyl AND the backing, then put the pieces on transfer paper manually.
I adjusted my pressure settings to ‘poster’ and it cut through both the vinlyl and backing.

It worked okay, but some of the edges and corners got dragged up.

I started ‘weeding’ it by taking off the outline portion and setting it aside to keep. (I didn’t remove the backing while weeding.)

After I ‘weeded’ the outline portion away, I stuck it on the other side of my mat. It worked pretty well.

I applied the transfer paper straight to the mat

It worked! But since the edges of the vinyl dragged, I didn’t do this for every flower, just a few.
I did figure out (after several tries) that if you cut the vinyl UPSIDE DOWN then it doesn’t drag as much!


I will have to prefect this method, since it is a great way to cut down on waste in a design like this where the weeded portion looks good too!
I also was excited to try this beautiful opal vinyl for the first time! It is so pretty and shimmers depending on what angle you look at it from.
But… alas.
I ruined it 🙁
My mat un-stuck and I wasn’t in the room to stop the machine.

I might have cried a little… $3…
I was able to save a little bit of the scraps though and I cut some cute pieces out of that at least!

I used those scraps on a peony flower

Here are some more photos of the mural ‘growing’:


It’s definitely not perfect, and some of the leaves I moved around after I took this photo since they were the removeable vinyl.
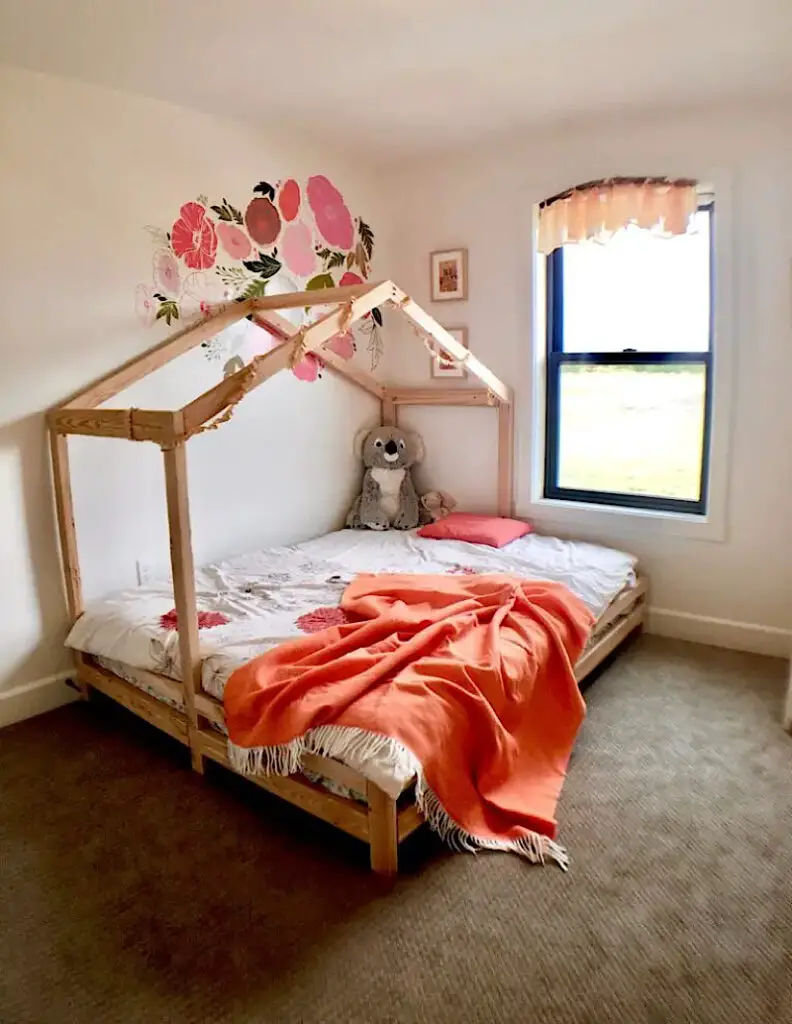
This is about the halfway point, I have lots more to do to finish it up, and then I will show you the final reveal! It has been several weeks since I started and It is looking really cool right now!


The girls love it and it has been a fun project.
Stay tuned for part 3, Finishing touches and final reveal!
Update: Check out what the girl’s room looks like now!!
To read part one, click HERE.

If you have questions about this post, I would be happy to answer them! I read every comment.
If you liked this project, here are some other things I’ve been up to:
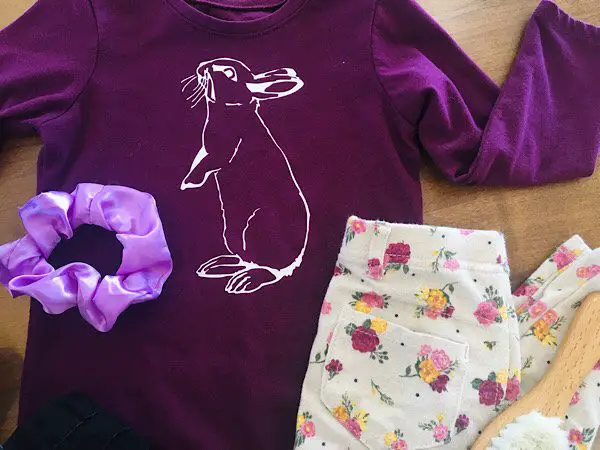
– Vintage Rabbit T Shirt DIY
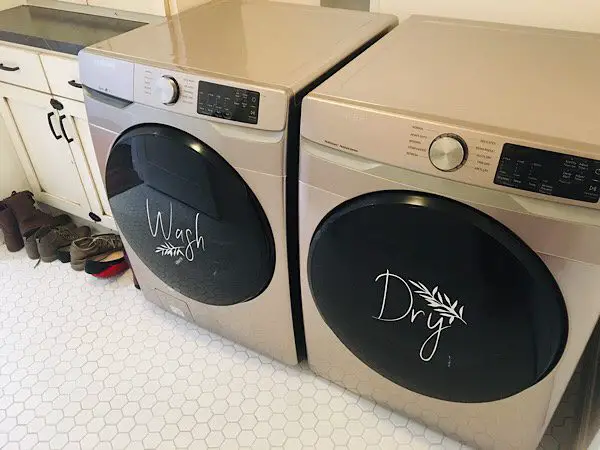
– DIY Washer Dryer Decals
– How to Make A Vintage Lace Tutu for your Toddlerina