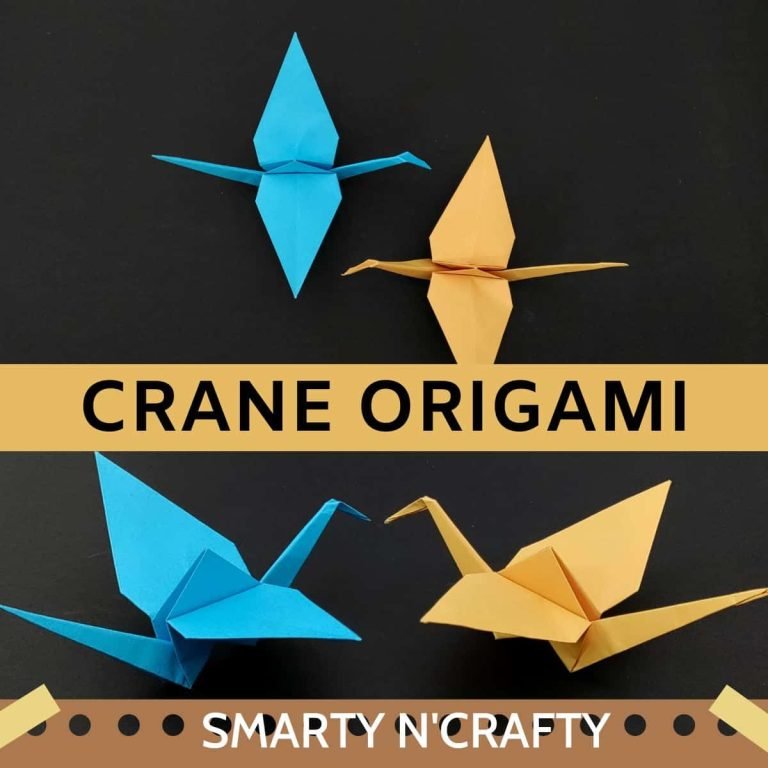
Graceful Origami: How to Fold an Elegant Origami Swan
Origami, the ancient Japanese art of paper folding, has captivated people around the world with its elegance and simplicity.
Note: This post may contain affiliate links, which means if you buy from my link I might make a small commission. This does not affect the price you pay. See the full affiliate disclosure here.
With just a square sheet of paper, intricate shapes and figures can be created, each fold telling a story of patience and precision.
Among the myriad of origami designs, the swan stands out as a symbol of grace and beauty.
In this step-by-step guide, we’ll explore how to fold an origami swan, a timeless creation that embodies the artistry and tranquility of origami.
Swans are renowned for their beauty and grace, gliding effortlessly across serene waters. Capturing the essence of these majestic creatures in origami form can be a delightful and rewarding experience.
Create your elegant swan origami.
Materials Needed:
Square sheet of origami paper (preferably white or a color of your choice)
Step 1: Start with a Square Sheet of Paper
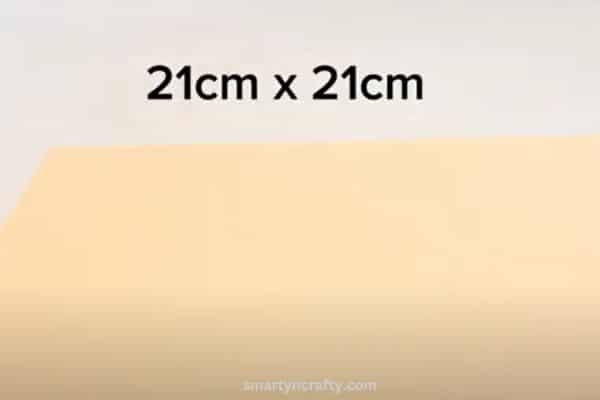
Begin with a square sheet of origami paper, white side up.
Here we are using a 21 * 21 cm sheet of paper.
Step 2: Fold Diagonally
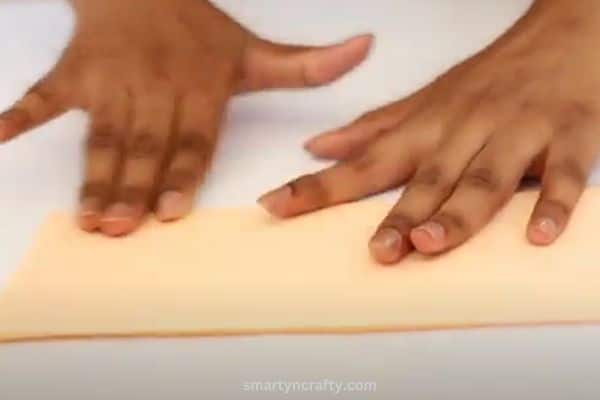
Fold the paper in half diagonally, bringing one corner to meet the opposite corner.
Crease the fold well and unfold, creating a diagonal crease line.
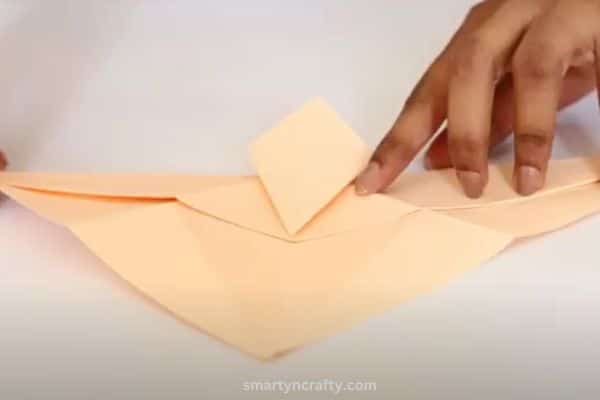
Fold a rectangle as shown on the top side.
Step 3: Fold the Corners
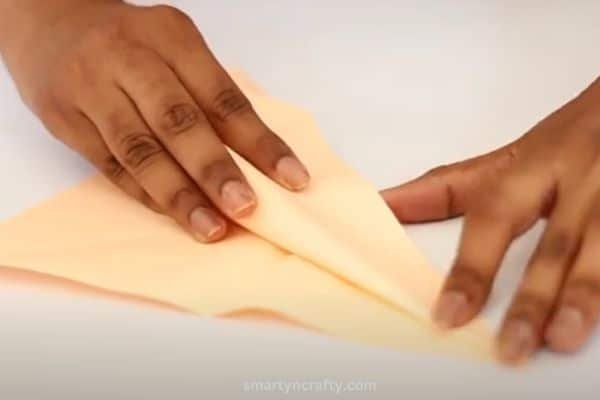
Fold the top corner of the paper down to the center crease, creating a triangle shape at the top.
Repeat the same fold with the bottom corner, bringing it up to meet the center crease. The paper should now resemble a diamond shape.
Step 4: Fold the Wings
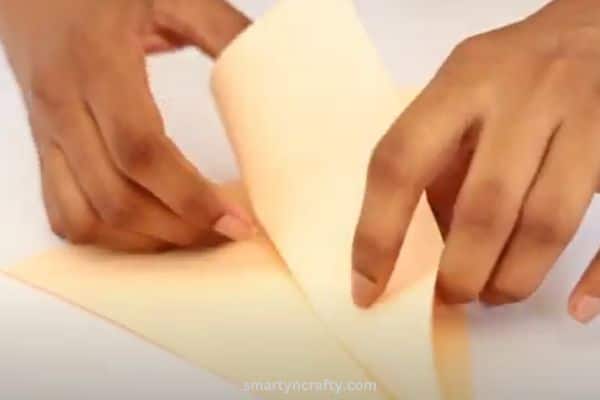
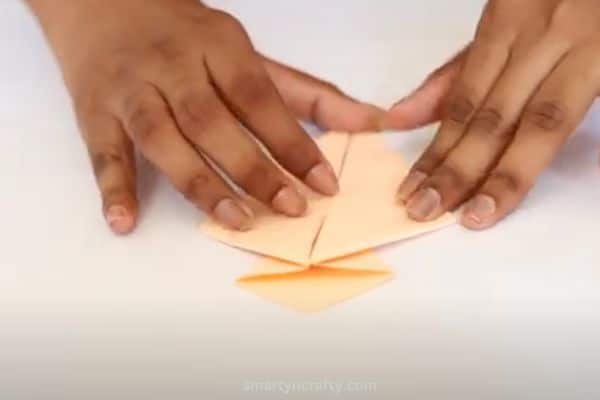
Turn the paper over to the other side. Fold the right corner of the diamond towards the center crease, creating the swan’s wing.
Repeat the same fold with the left corner to create the second wing.
Step 5: Form the Swan’s Neck
Turn the paper back to the original side.
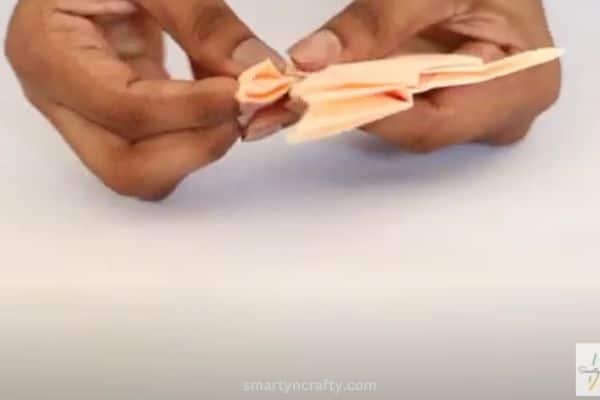
Locate the top layer of the paper, which includes the flaps from the wing folds. Fold this top layer down, starting from the top point of the diamond, angling slightly downward to form the swan’s neck.
Crease the fold well and unfold slightly to create a gentle curve in the neck.
Step 6: Shape the Head and Tail
Fold the tip of the neck back slightly to form the swan’s head.
Fold the bottom corner of the paper up slightly to create the tail. Adjust the folds as needed to achieve the desired shape for the head, neck, and tail.
Step 7: Final Touches
Stand the swan upright on a flat surface. Gently spread the wings apart to give the swan a more lifelike appearance.
Use a pen or marker to add eyes to the swan’s head, if desired.
I know it is all confusing to make a paper swan without a proper video tutorial.
Here it goes.
Congratulations, you’ve successfully folded an origami swan!
Display your creation proudly or give it as a thoughtful gift.
Origami is not only a beautiful art form but also a calming and enjoyable activity that anyone can enjoy.
My Take on How to Make an Origami Swan
Folding an origami swan is not just about creating a beautiful paper sculpture; it’s about the journey of folding itself.
Each crease and fold is a mindful step towards a finished piece, teaching patience, focus, and appreciation for the present moment.
As you display your completed swan, remember the artistry and skill that went into its creation.
Origami is more than just paper folding; it’s a reflection of the beauty that can be found in simplicity and the joy of creating something beautiful with your own hands.
Hi, I'm Rachel, a mother on a journey. I created Approaching Home to share my experiences and offer encouragement & advice to other mothers like me. I'm here to help you learn about natural parenting and cultivate joy in motherhood.