If you have tried to make a lattice pie crust without great success, you have got to try these two tips that make it super easy!
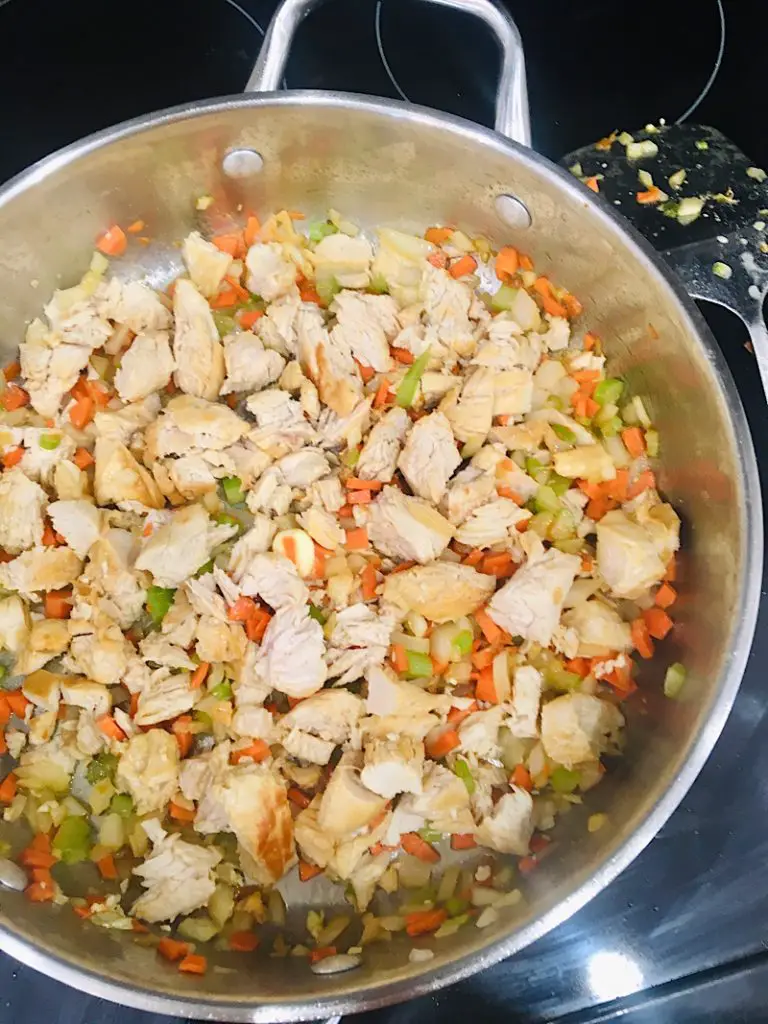
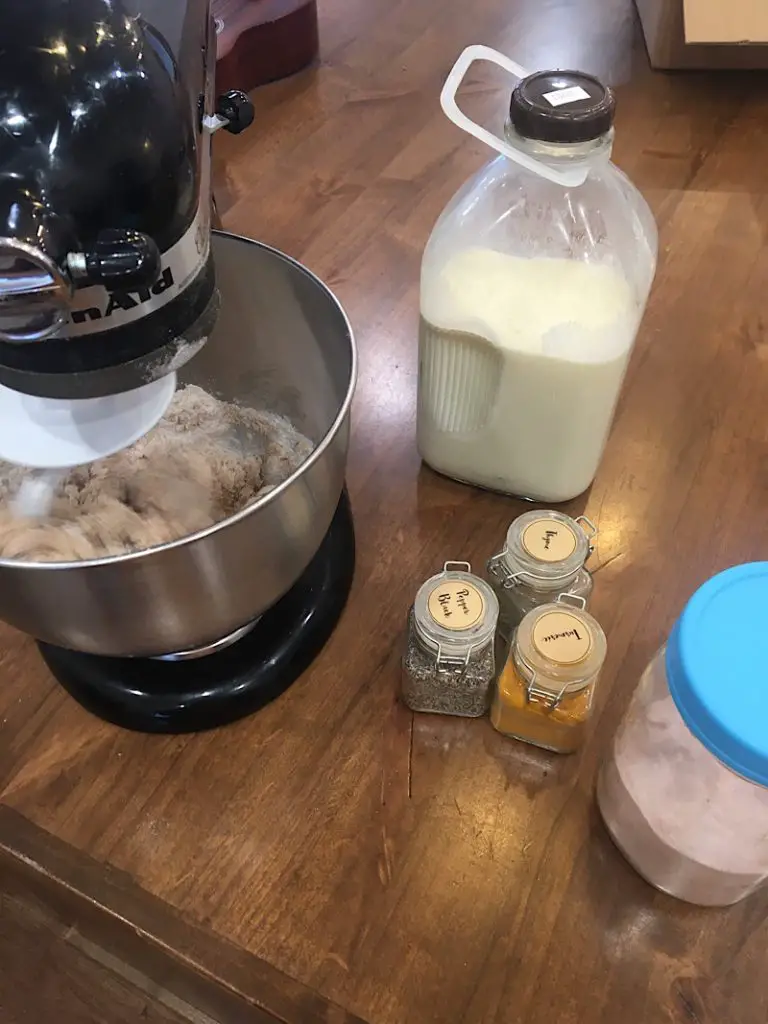
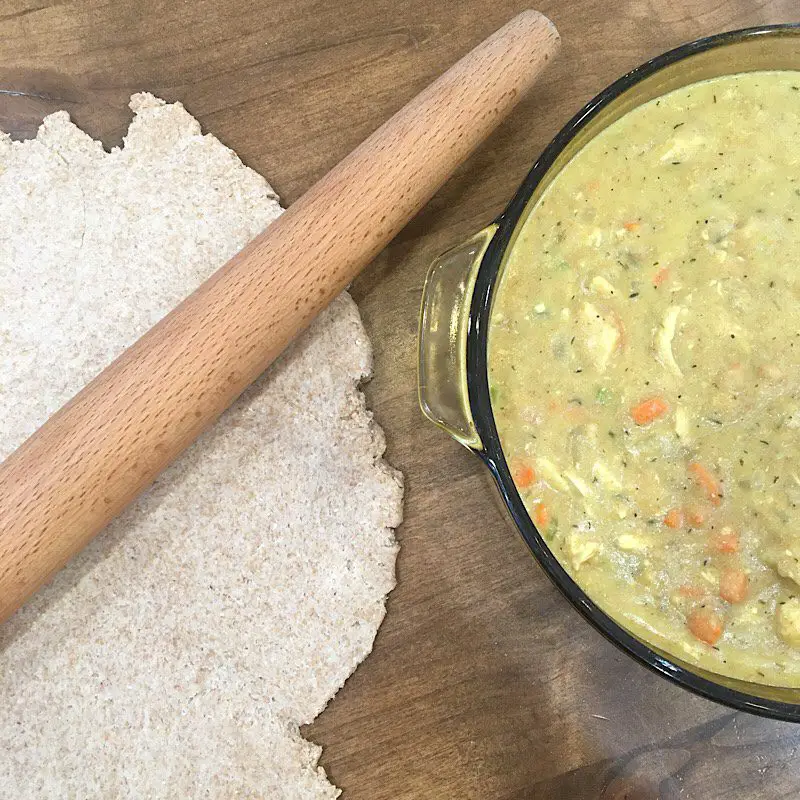
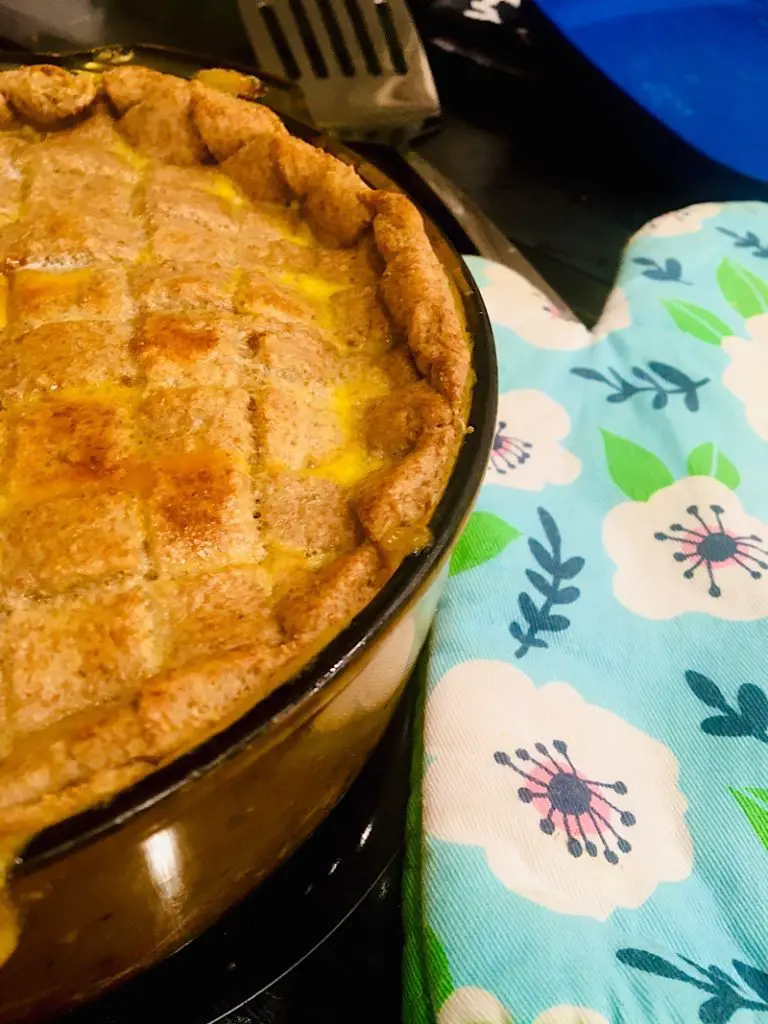
Tonight for dinner I made a chicken pot pie, and I think it might actually be the first chicken pot pie I have ever made! I based it off of Pioneer Woman’s recipe and it turned out to be a huge hit with us all. I used my own homemade chicken stock, raw milk, and made the pie crust out of my sourdough starter discard for the day. This marks the first recipe I have ever altered to be sourdough! Another huge first!!
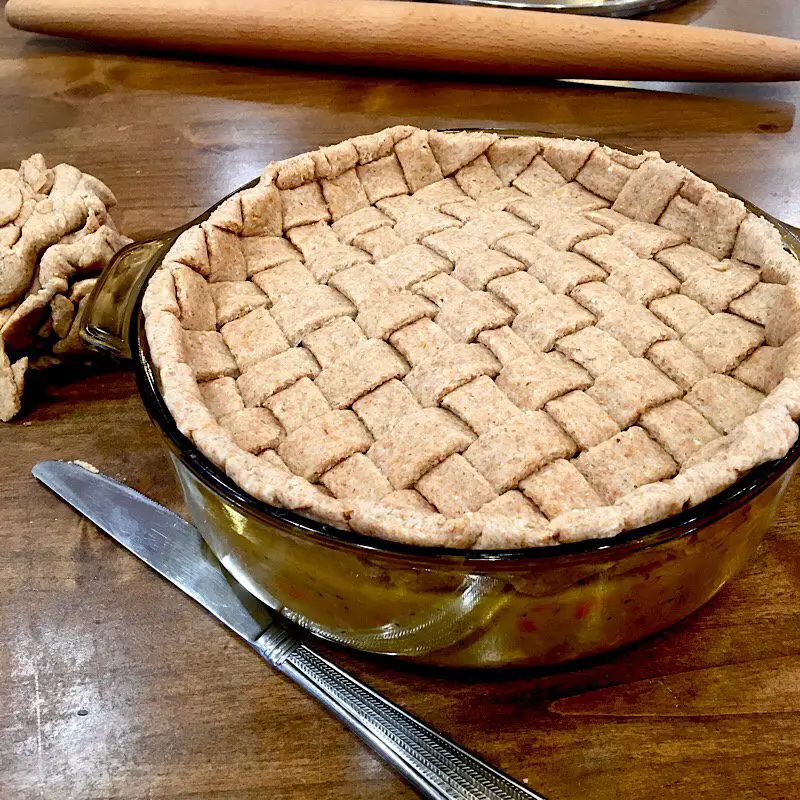
All of those special touches aside, the detail that really took the cake for me was the lattice top I made for it. I could have rolled out a flat top and thrown it in the oven 5 minutes faster, but I thought about it, and those extra five minutes carefully laying out the lattice crust is what made it all so much more beautiful and delicious. I enjoyed it that time with my pie. It was good time to enjoy the blessings of motherhood and piemaking. Which brings me to my important pie thought today:
Why Bother Making Pretty Pie Crusts?
Technically, pies taste basically the same no matter what crust design lies on top. But I think that when your food looks good, you are much more likely to enjoy it! So why not go that extra mile?
I also think that taking the care to make something special is one of the things that makes cooking (and homemaking in general) so pleasant and fulfilling. When you can step back from a freshly baked pie that YOU made from scratch, and one that is pretty too, you feel so good about yourself! You feel like a domestic unicorn! You can relish in a job well done.
Its like when people have pride in how they care for their front lawns or their gardens. It is so fulfilling and beautiful. We should take pride in our homemaking and cultivate neatness and thoughtfulness and beauty. I think that is a motto to live by.
Plus, pie crusts are fun!
(Side note flashback to when I made a sunflower-crust pie, it wasn’t very neat pie work but it won first place for being pretty!)
(That flashback leads me to another flashback of yet another pie cake I made that also won first place at the county fair, it tasted good but it was also just kind of cool looking!)
(Okay here are two more pretty pies I made. Now go follow me on instagram!)
But seriously, when I look at a lattice pie, I think “wow. that’s awesome. I want to eat that. But first I want to look at it.” 😂
But — isn’t it really hard to make a lattice pie crust?
Okay, we get it. All this talk about beautiful food. But what about how HARD it is?? Basket-weaving seems hard enough, but to basket-weave a pie?!
I have news for you. It is so easy! And today I came up with some hacks to make it even easier. You should first review basic lattice making skills since I won’t cover them in this post. Then, use these tips to make it even easier!
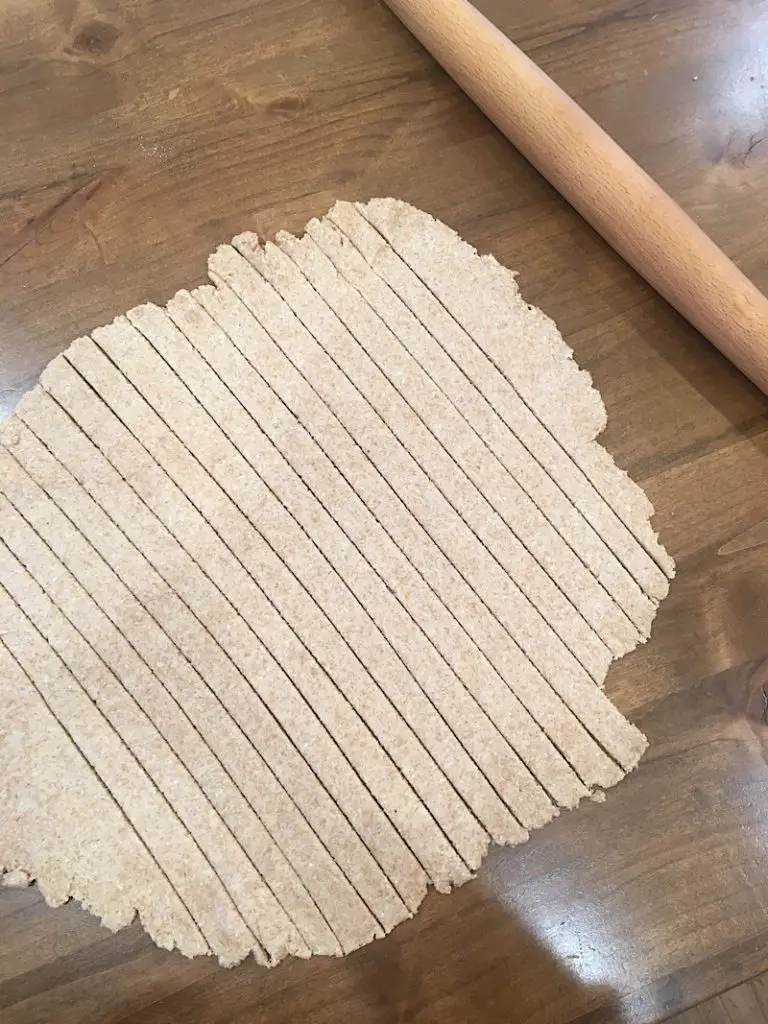
2 Super Easy Lattice Pie Crust Hacks
Hack number one is more of a tip than a hack, and it is this:
Assemble your lattice crust OFF the pie, on a silicone mat or a piece of parchment paper.
Okay. There are times when this hack won’t make things that much easier, like when you’re making an apple pie that is quite firm before baking. You could probably make the lattice on top of that firm apple pie without too much of a problem.
But if you are making a very soft or wet pie, like the chicken pot pie I made tonight, or perhaps even some kind of custard, it gets kind of messy and soggy to lay all the lattice strips right on top of the pie filling and then proceed fold them back and forth. Plus, if you accidently rip one it is hard to fix it without pushing it into the pie filling.
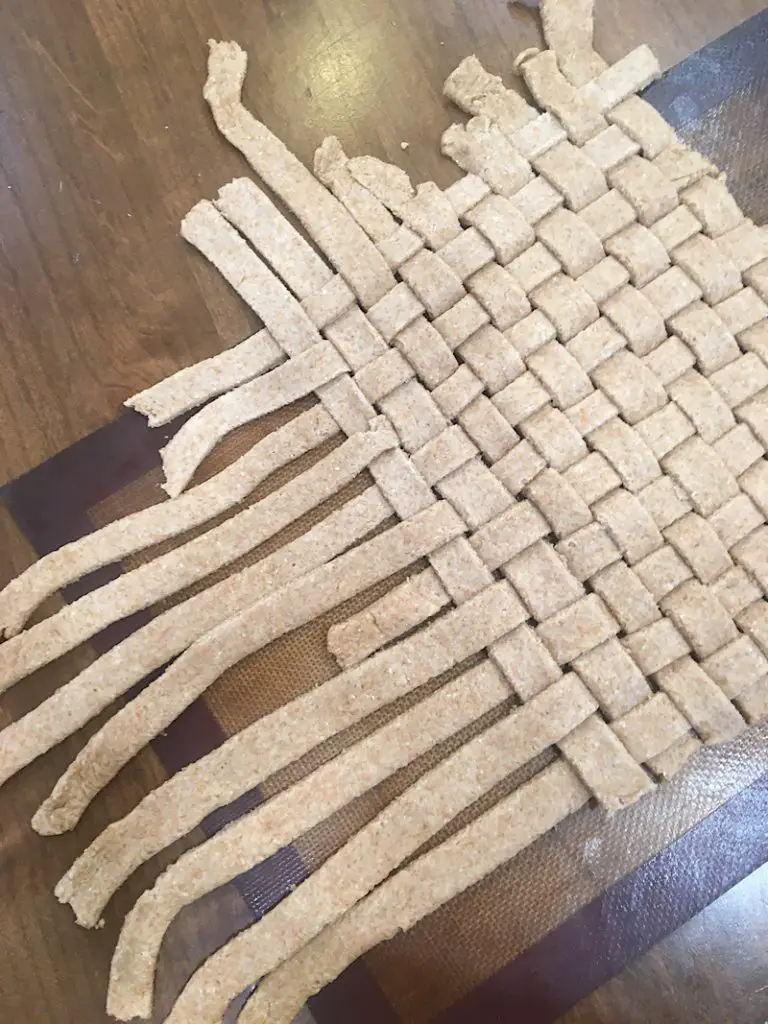
(This tip also only works if you are doing a very tight weave, if you have a loose lattice it will be harder to transfer later.)
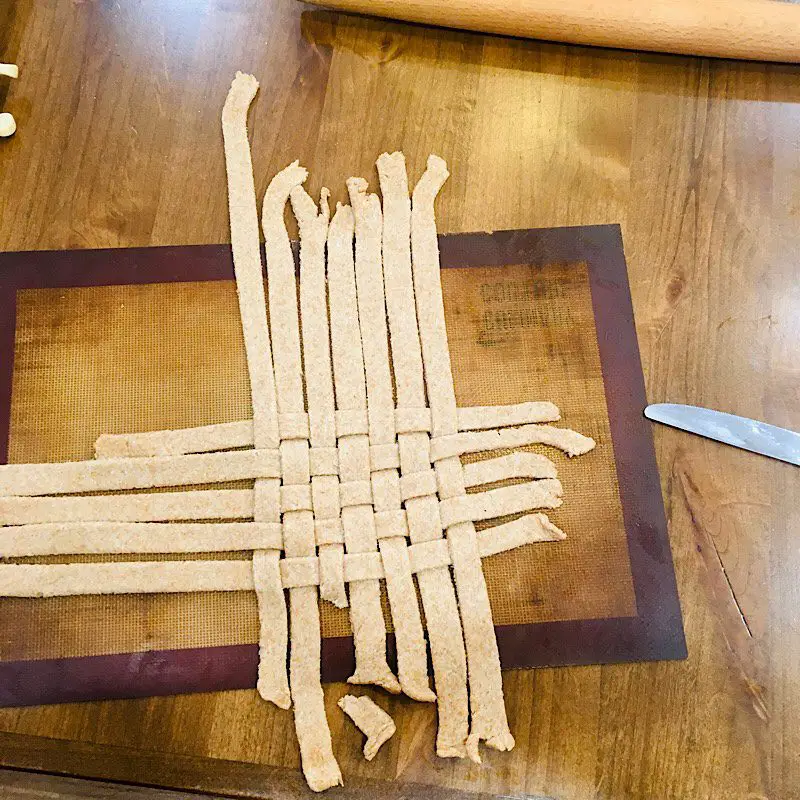
I like to use a silicone mat and build my lattice right on top of it. This way the crust doesn’t accidentally sink into the pie while I am folding it, I keep the lattice clean, and I am free to go a bit slower if I need too. I also find that assembling it first makes it easier to trim which leads me to my next hack:
Make your pie crust a perfect circle by trimming it with a large pot lid.
I hope you see where I’m headed with this. Find a lid that is about the size of your pie dish, with a 1/2 or 1 inch overhang all around (depending on how you are going to finish the edges of your pie.) Then, use the pot lid like a giant cookie cutter to cut out a perfect circle in one swoop.
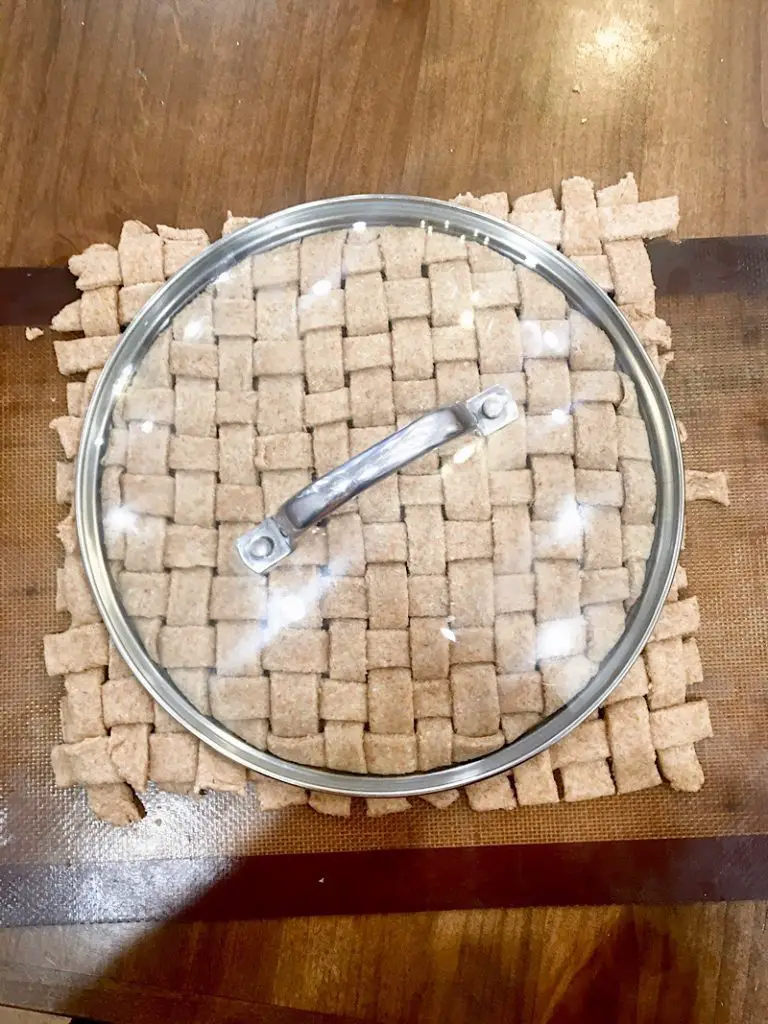
Boom!
I like this tip because trimming the pie crust on the pie sometimes can lead to tearing or ripping. The pot lid method totally avoids that and is so much faster!
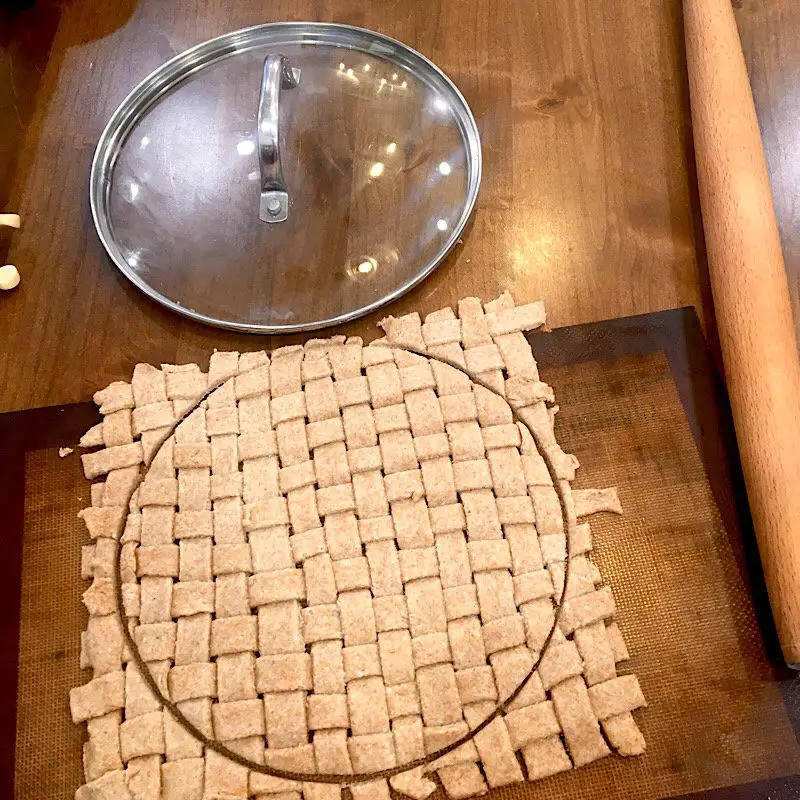
Some people will roll out their dough in a circle at the beginning and then cut the lattice strips, so that they already have the circle shape when they assemble it and place it on the pie but really? That’s too complicated for me!
If you don’t have the right size of pot lid (my standard soup pot lid was just right) then you can find a bowl or something else to try.
But really you just need to go to the thrift store and buy a pot lid just for pie making. It will be so worth it 😂
End tip.
Once you have assembled and cut your pie crust, you will need to transfer it to the pie. Here is how I do it:
- Fold the pie crust carefully in half by folding the entire silicone mat in half right along with it.
- Peel away the silicone mat from the top side of your folded crust, then place your hand on top of the crust. While holding it on top and on bottom, flip it upside down into the other hand and peel off the rest of the silicone.
- You now can place the folded pie crust on the pie, and then gently unfold it and lay it down across the rest of the pie.
I brushed the top of my pie with an egg wash and away it went to bake. The toddlers asked for more and it was so delicious and didn’t take very long thanks to these tips!
I hope you have been enlightened and inspired to make a lattice pie this week. I have extra sourdough pie crust dough so maybe some mini pies are in my near future!
Do you have any other lattice crust tips to add?
